Brown crispy leaf tips and pale, drooping foliage can instantly frustrate anyone attempting spider plant care indoors. Many plant parents purchase this classic tropical houseplant expecting effort-free growth, only to watch its vibrant green arches slowly deteriorate.
Proper spider plant care indoors requires balancing lighting levels, tap water minerals, root space, and soil hydration. When one of these factors slips out of balance, your plant responds quickly with visible stress signals.
Understanding these simple plant signals will eliminate guesswork and prevent costly mistakes like root rot or scorched leaves. Once you learn how to read its daily needs, maintaining a full, thriving specimen becomes a rewarding and stress-free habit.
This complete guide breaks down light setups, watering schedules, potting mixes, propagation methods, and pest troubleshooting. You will discover exactly how to keep your spider plant healthy, vibrant, and producing abundant offshoots all year long.
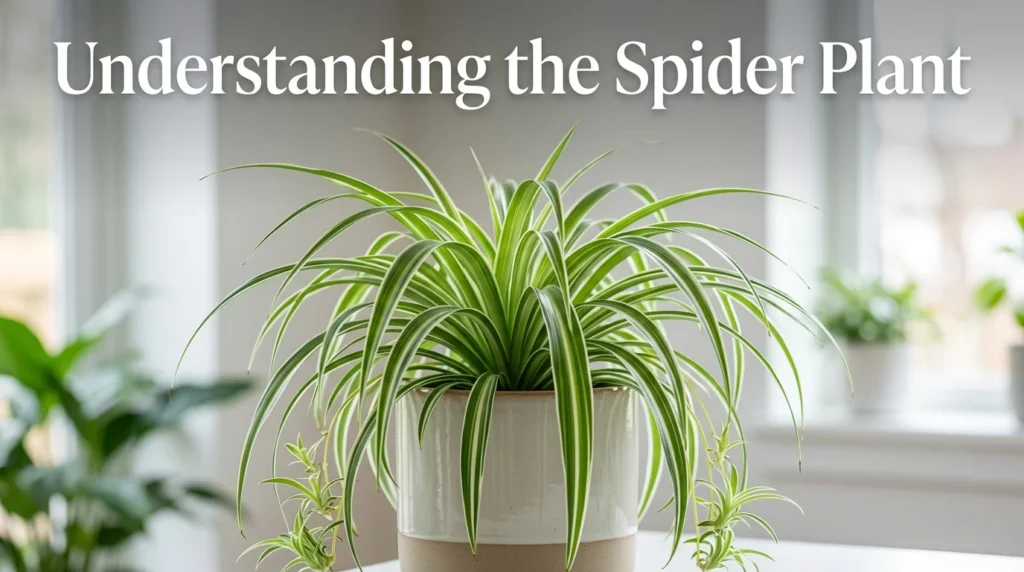
Understanding the Spider Plant (Chlorophytum comosum)
The spider plant, botanically known as Chlorophytum comosum, originates from the tropical and southern coastal regions of Africa. In its natural environment, it grows along shady forest floors where it receives dappled sunlight and frequent rainfall through well-draining native soils.
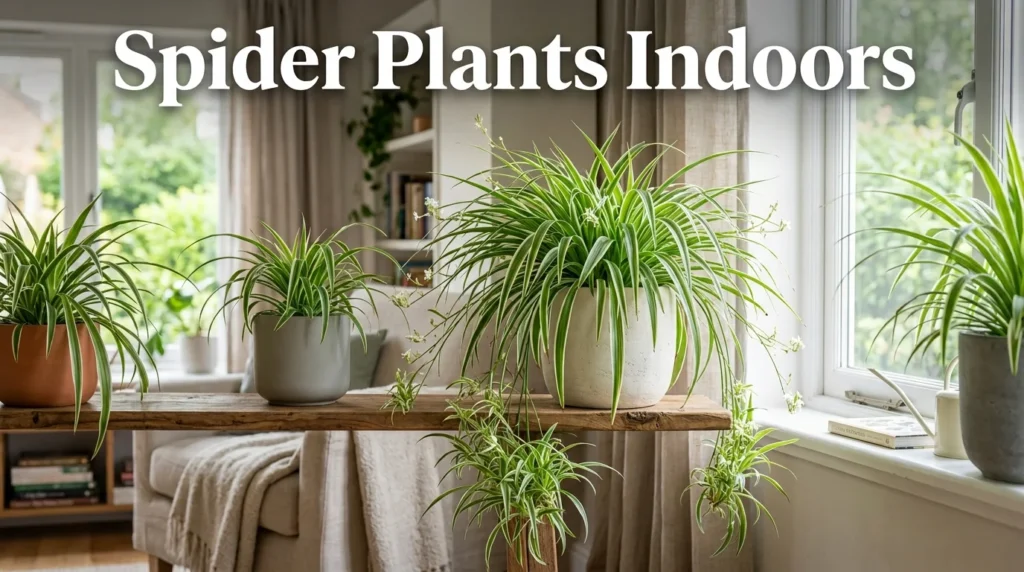
As an indoor houseplant, it is celebrated for its fountain-like arching leaves and forgiving nature. What makes this plant unique is its specialized root system. Spider plants develop thick, fleshy tuberous roots designed to store water and nutrients for extended periods. This adaptation gives them built-in drought resistance, making them far more resilient than many other tropical foliage plants.
When happy, a mature spider plant produces long, slender stems called stolons or runners. Tiny white flowers bloom along these stems, followed by baby plantlets known as “spiderettes.” These hanging offsets resemble small spiders dangling from a web, giving the plant its famous common name.
Why Spider Plant Care Indoors Is Important
Mastering indoor plant care for your spider plant ensures long-term vitality and prevents slow decline. While these plants have a reputation for being nearly indestructible, neglected specimens often suffer from stunted growth, pale foliage, and root rot.
Proper attention keeps the foliage rich and variegated while encouraging continuous runner production. Furthermore, maintaining optimal health strengthens the plant’s natural defenses against common indoor pests like spider mites and mealybugs. Investing a few minutes each week into basic care yields a lush, full centerpiece that lasts for decades.
Benefits of Growing Spider Plants Indoors
Adding a spider plant to your indoor green space brings both aesthetic and practical advantages:
- Air Purification: Spider plants are celebrated for filtering indoor air pollutants such as formaldehyde, xylene, and toluene.
- Pet-Friendly Safety: According to the ASPCA, Chlorophytum comosum is completely non-toxic to cats and dogs, making it a stress-free choice for pet owners.
- Easy Propagation: A single healthy mother plant yields dozens of free baby plantlets every year, allowing you to easily expand your indoor garden or gift plants to friends.
- Versatile Decor: Their cascading growth habit makes them perfect for hanging baskets, high plant stands, wall shelves, and desktop planters.
- Drought Tolerance: Thanks to tuberous water-storing roots, spider plants easily survive occasional missed waterings without permanent damage.
Popular Spider Plant Varieties for Indoor Gardens
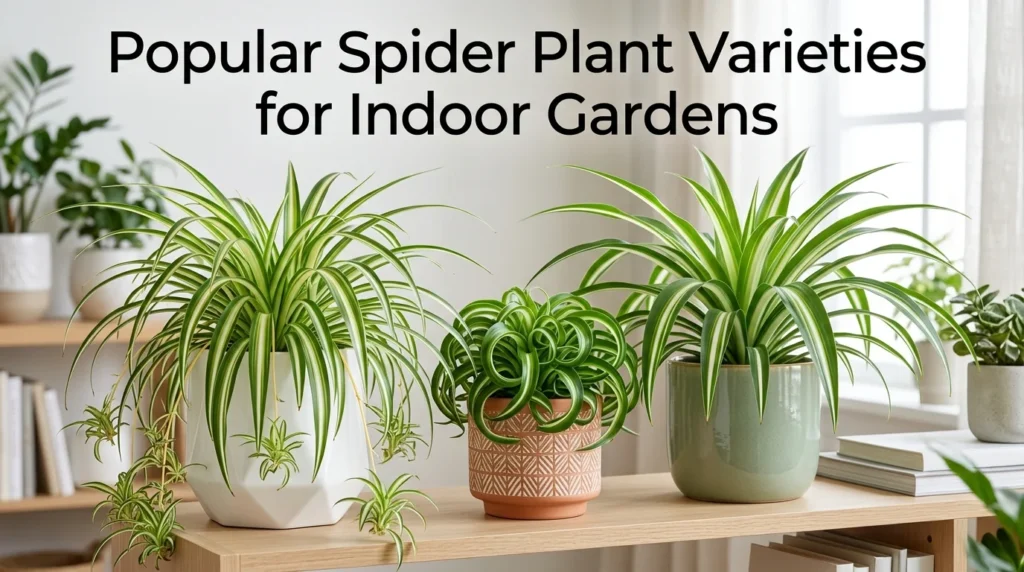
While all spider plants share similar care requirements, choosing the right cultivar adds varied texture and color patterns to your room:
- Vittatum (Classic Variegated): Features a broad creamy-white central stripe bordered by rich medium-green margins. This is the most widely recognized cultivar.
- Variegatum (Reverse Variegated): Displays bright green leaves with dark green centers edged in crisp white or cream borders.
- Green Bonnie (Curly Spider Plant): Characterized by playful, swirling leaves that curl tightly. It stays compact and works exceptionally well in smaller spaces.
- Ocean: A compact variety featuring short, wide leaves with bright white edges and a soft green center, offering a denser appearance.
- Solid Green (Chlorophytum comosum species): The non-variegated wild form with solid dark green leaves. It tolerates lower light conditions slightly better than variegated options.
Lighting Requirements for Vibrant Foliage
Lighting is a critical component of successful indoor spider plant maintenance. In nature, these plants grow under dappled canopy foliage, meaning direct sun will quickly scorch their tender leaves.
Ideal Light Exposure
Spider plants thrive best in bright, indirect sunlight. Placing your plant within 2 to 4 feet of an east-facing window provides gentle morning sun while protecting it from harsh afternoon rays. South-facing or west-facing windows are also suitable if filtered through a sheer curtain.
Low Light vs. Direct Sunlight
- Too Much Direct Sun: Causes crisp, brown leaf margins, faded white stripes, and bleached foliage.
- Too Little Light: Results in floppy leaves, slow growth, and loss of variegated patterns (leaves turn entirely green to absorb more light). In severe low light, the plant will stop producing runners entirely.
Using LED Grow Lights
If your living space lacks sufficient natural sunlight, spider plants respond remarkably well to full-spectrum LED grow lights. Position a standard 15–20 watt LED grow light roughly 12 to 18 inches above the foliage for 12 to 14 hours daily to maintain crisp variegation and active growth.
Watering Methods and Hydration Balance
Watering correctly is often the most tricky aspect of caring for spider plants indoors. Because their tuberous roots store moisture, overwatering poses a far greater risk than underwatering.
The “Soak and Dry” Technique
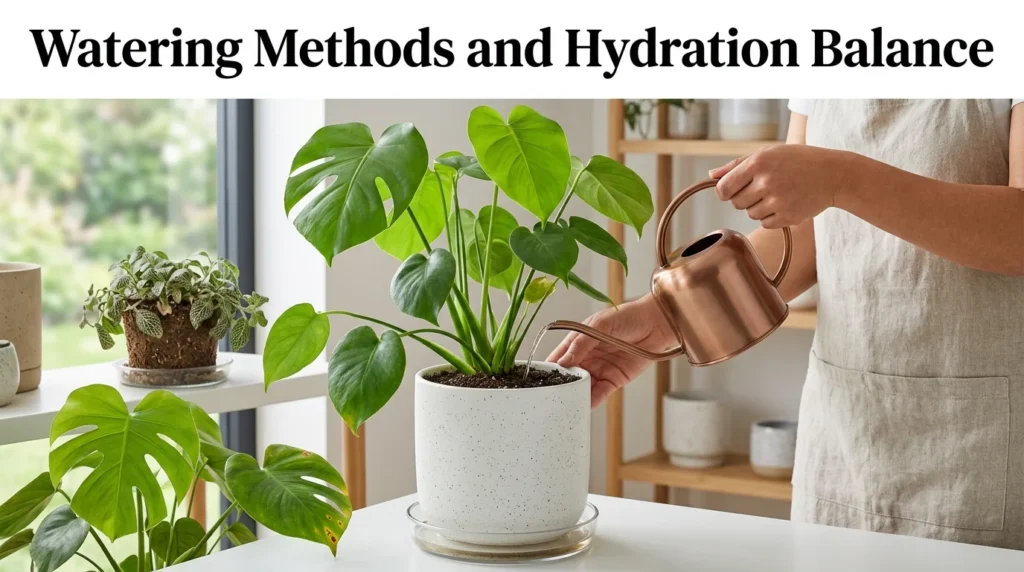
Allow the top 50% of the potting soil to dry out completely before watering again. Insert your finger roughly two inches into the soil; if it feels dry and cool, it is time to water.
Water thoroughly until moisture flows freely from the bottom drainage holes. Always discard excess water collected in the saucer after 15 minutes to prevent saturated soil conditions.
Tap Water Minerals and Fluoride Sensitivity
Spider plants are notoriously sensitive to fluoride, chlorine, and soluble salts commonly found in municipal tap water. High mineral contents accumulate in the leaf tips, causing unsightly brown, burnt ends.
To prevent tip burn:
- Use distilled water, purified reverse osmosis water, or collected rainwater.
- Avoid water softened with chemical salts.
- If using tap water, flush the pot thoroughly with purified water once every two months to leach out accumulated salts.
Ideal Soil Mix and Potting Needs
Spider plants require a well-draining, lightweight potting medium that retains moderate moisture without becoming soggy or compacted. Heavy garden soil or dense potting dirt will trap excess water around the tuberous roots, leading to root rot.
Recommended Aroid/Houseplant Soil Recipe
Mix your own ideal potting medium using these easily sourced components:
- 2 Parts Standard Potting Soil: Provides an organic nutrients base and moisture retention.
- 1 Part Perlite or Coarse Pumice: Creates air pockets and speeds up drainage.
- 1 Part Coco Coir or Peat Moss: Keeps the soil light, fluffy, and slightly acidic (pH 6.0 to 7.0).
Choosing the Right Pot
Always select containers equipped with functional drainage holes. Plastic nursery pots inside decorative cachepots, terracotta, or glazed ceramic pots all work well. Terracotta is especially useful for growers prone to overwatering, as its porous walls allow moisture to evaporate faster.
Spider plants actually prefer being slightly root-bound! Keeping them in a snug pot encourages them to send out runners and baby plantlets rather than focusing energy solely on root expansion. Repot only when roots begin pushing the plant up out of the pot or growing heavily through drainage holes.
Temperature and Humidity Requirements
Because spider plants are tropical natives, maintaining consistent indoor environmental conditions prevents stress and leaf damage.
Temperature Ranges
Spider plants prefer standard indoor temperatures between 65°F and 75°F (18°C to 24°C) during the day. They can tolerate night drops down to 55°F (13°C), but cold drafts below 50°F (10°C) cause soft, darkened foliage and root collapse. Keep plants away from air conditioning vents, exterior doors, and chilly winter windowpanes.
Humidity Levels
While spider plants adapt surprisingly well to average household humidity (30–40%), they truly flourish in moderate to high humidity environments (40–60%). Low winter air caused by central heating frequently leads to crispy leaf tips.
How to Boost Humidity Indoors:
- Group houseplants together to create a humid microclimate.
- Place the pot on a tray filled with pebbles and water (ensuring the base of the pot stays above water level).
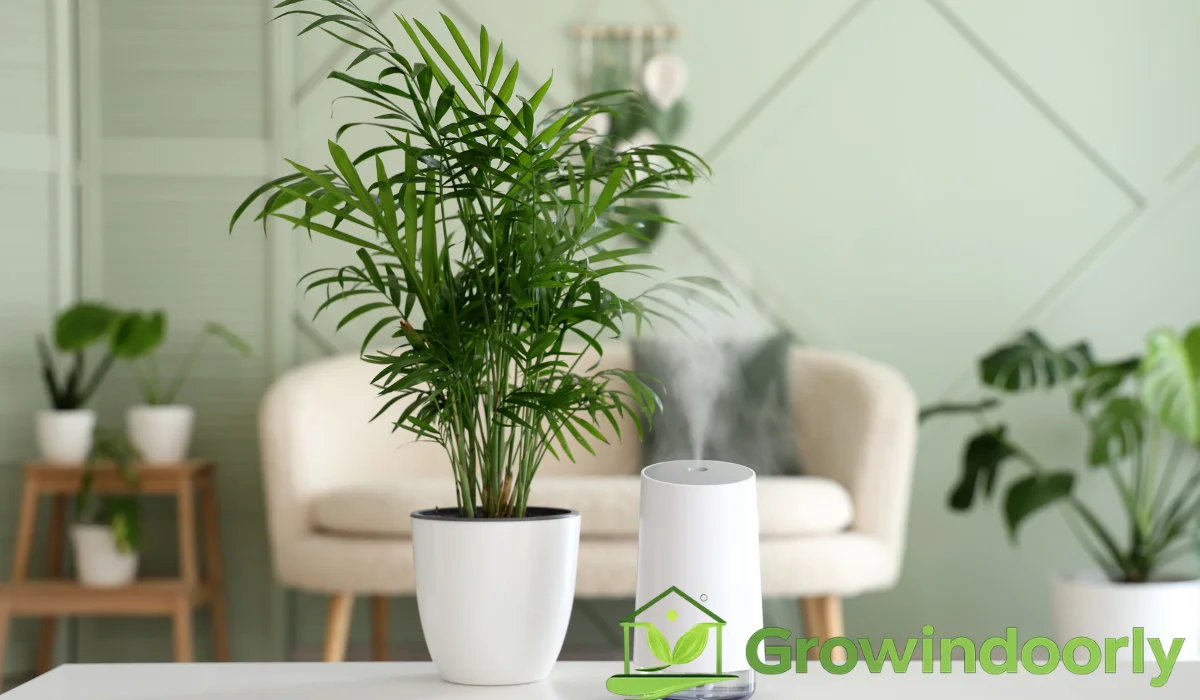
- Run a cool-mist ultrasonic humidifier nearby during dry winter months.
Fertilizer and Nutrients Strategy
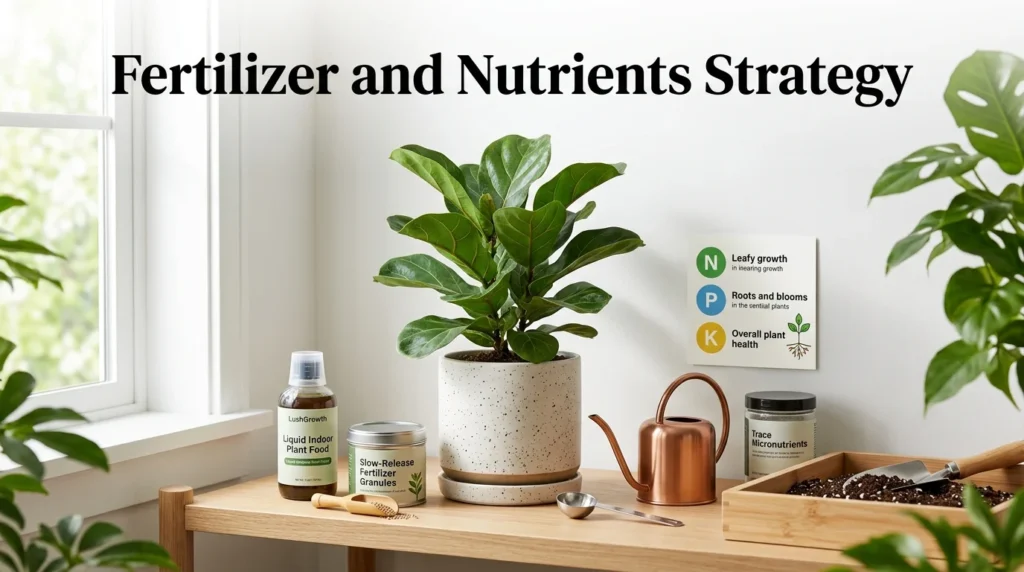
Spider plants are modest feeders during their active growing season. Over-fertilizing causes salt buildup, burnt leaf tips, and weak, leggy foliage.
Feeding Schedule
Feed your plant every 4 to 6 weeks from early spring through early autumn using a balanced, water-soluble indoor houseplant fertilizer (such as a 10-10-10 or 20-20-20 N-P-K ratio) diluted to half-strength.
Do not fertilize during late autumn or winter when the plant enters its natural resting period. Always apply fertilizer to damp soil feeding a completely dry plant can burn delicate root hairs.
Propagation: Growing New Spider Plants
Propagating spider plants is one of the easiest and most satisfying indoor gardening projects. You can turn a single mother plant into dozens of new plants using baby spiderettes.
1.Select Healthy Spiderettes:Choose offsets with visible root nubs.
Identify mature plantlets hanging from the mother plant’s runners. Look for baby spiderettes that have developed small, brownish root nubs at their base.
2.Separate from Runner:Use clean pruning shears.
Using a pair of sterilized scissors or pruning shears, snip the runner stem close to the base of the baby plantlet without damaging its tiny roots.
3.Root in Water or Soil:Two easy rooting options.
Water Method: Suspend the bottom of the spiderette in a small jar of room-temperature water. Place in bright indirect light. Roots will develop in 1 to 2 weeks. Change water every 3–4 days.
Soil Method: Plant the spiderette directly into a small pot filled with moist, well-draining potting mix. Press the soil gently around the base and keep it lightly moist until firmly rooted.
4.Establish and Care:Transition to normal routine.
Once roots reach 1 to 2 inches long (for water propagation) or when soil-rooted plantlets show new leaf growth, care for them as mature spider plants.
Routine Maintenance and Cleaning
Regular grooming keeps your spider plant looking sharp while promoting long-term vigor:
- Trimming Crisp Tips: Use clean, sharp scissors to snip off dead brown leaf tips. Cut at an angle following the natural shape of the leaf blade for a natural appearance.
- Pruning Yellow Leaves: Cut yellowing or damaged outer leaves at the base near the soil line to redirect energy toward new growth.
- Dusting Foliage: Dust collects on broad leaves over time, blocking light absorption. Wipe leaves gently with a damp microfiber cloth once a month or give the plant a gentle shower with lukewarm water.
Seasonal Indoor Care
Indoor conditions shift dramatically between seasons, requiring minor adjustments to your care routine:
Spring and Summer (Active Growth)
- Water more frequently as temperatures rise and light levels increase.
- Apply half-strength fertilizer monthly.
- Expect rapid leaf development and new runner formation.
Autumn and Winter (Resting Phase)
- Reduce watering frequency; allow soil to dry out deeper between waterings.
- Stop fertilizing completely until spring.
- Move the plant closer to bright window light as outdoor sunlight weakens.
- Monitor indoor humidity levels closely to counteract dry heating systems.
Common Spider Plant Mistakes to Avoid
Even experienced growers occasionally run into issues. Avoid these widespread care mistakes:
- Using Heavy Tap Water Continuously: Fluoride and chlorine buildup directly cause leaf tip necrosis.
- Over-Potting in Huge Containers: Excess soil holds onto water too long, suffocating roots.
- Keeping the Soil Saturated: Tuberous roots require oxygen; sitting in water logged soil causes rapid root rot.
- Exposing to Harsh Direct Sun: Scorches leaf tissues, creating permanent brown burn patches.
- Neglecting Root-Bound Conditions: While they enjoy being snug, extremely root-bound plants will crack plastic pots, stop growing, and dry out within hours of watering.
Troubleshooting Common Spider Plant Problems
When your spider plant exhibits signs of distress, use this quick troubleshooting reference:
- Brown Leaves / Brown Tips: Caused by tap water minerals (fluoride/salts), low humidity, or underwatering. Switch to distilled water and increase humidity.
- Yellow Leaves: Indicates overwatering, poor pot drainage, or lack of nitrogen nutrients. Check root health immediately.
- Pale or Faded Foliage: Too much direct sun (bleaching) or insufficient light causing loss of pigmentation. Adjust window placement.
- Drooping, Soft Leaves: Underwatering (leaves appear limp and dull) or root rot from overwatering (leaves feel mushy near the base).
- Lack of Runners/Babies: The plant is either too young, receiving insufficient light, or potted in an overly large container.
Beginner Tips vs. Advanced Expert Recommendations
Essential Beginner Guidelines
- Always choose a pot with drainage holes.
- Water only when the top half of the soil feels dry.
- Place the plant in bright, indirect light near an east window.
- Trim brown tips with angled cuts.
Advanced Expert Strategies
- Leach Soil Bi-Monthly: Flush soil with twice its volume in distilled water to dissolve accumulated fertilizer salts.
- Optimize Runner Production: Keep plants slightly root-bound in bright indirect light and maintain consistent spring feeding to trigger heavy stolon blooms.
- Bottom-Watering Method: Place the pot in a basin of water for 20 minutes, allowing soil to soak up moisture from below without compacting topsoil.
Knowledge Check Quizzes
Test your indoor spider plant knowledge with these quick practice questions:
Question 1
What primary feature allows spider plants to survive dry periods between waterings?
A) Thick waxy leaf coatings
B) Fleshy tuberous root systems
C) Deep taproots
D) Hollow leaf stems
Question 2
Which factor is the most common cause of crispy brown leaf tips on indoor spider plants?
A) Fluoride and mineral accumulation from tap water
B) Too much humidity
C) Over-fertilizing during winter
D) Using ceramic pots
Question 3
What light condition encourages the best growth and variegation without scorching leaf tissue?
A) Direct, intense afternoon sunlight
B) Complete darkness
C) Bright, indirect sunlight
D) Low light corners with no windows
Answer Key
Q1: B | Q2: A | Q3: C
Conclusion
Providing effective spider plant care indoors comes down to respecting the plant’s natural origin. By supplying bright indirect light, using well-draining soil, allowing the pot to dry out moderately between waterings, and using purified water, your spider plant will thrive for years to come.
These beautiful, air-purifying tropicals reward simple care routines with lush arching leaves and endless baby plantlets. Apply these expert care steps today, and build your indoor garden confidence with GrowIndoorly.com!
Frequently Asked Questions
How often should I water my indoor spider plant?
Water every 7 to 10 days on average during spring and summer, allowing the top 50% of soil to dry out between waterings. In winter, reduce watering frequency to every 10 to 14 days.
Why is my spider plant not producing baby plantlets?
Spider plants produce runners when mature, receiving bright indirect sunlight, and kept slightly root-bound in smaller pots. Immaturity or low light levels are the most common reasons runner development stops.
Can spider plants survive in low light rooms?
Spider plants can tolerate lower light levels, but growth will slow dramatically and variegated patterns may fade to solid green. Use an LED grow light to maintain healthy growth in dark spaces.
Should I cut baby spider plants off the mother plant?
Yes, you can cut spiderettes off once they develop small root nubs at their base. Removing excess baby plants helps the mother plant redirect energy toward main leaf growth.
Is the spider plant safe for cats and dogs?
Yes! Spider plants are non-toxic to cats and dogs according to the ASPCA. However, cats are often attracted to the dangling leaves because they contain mild hallucinogenic compounds similar to catnip, so keeping them in hanging pots is recommended.

Megan Foster is the founder and lead writer of GrowIndoorly.com, where she shares practical, easy-to-follow advice for growing healthy indoor plants. She is passionate about helping beginners and experienced plant lovers build thriving indoor gardens with confidence. Megan writes about houseplants, indoor herbs, succulents, hydroponics, grow lights, plant propagation, watering, soil care, and everyday plant maintenance.
She enjoys researching trusted gardening techniques and transforming them into simple, actionable guides that readers can easily apply at home. Her goal is to make indoor gardening more enjoyable and accessible by providing clear, reliable information that helps people keep their plants healthy throughout the year. Whether you’re caring for your first houseplant or expanding your indoor plant collection, Megan’s practical tips are designed to help you grow with confidence.