Are you struggling to keep your indoor aloe plant looking plump, upright, and vibrant green instead of dull, mushy, or brown? Growing succulents on sunny windowsills seems simple enough, but these desert natives have specific preferences that confuse many home gardeners.
Caring for an indoor aloe plant requires a balance of light, proper soil aeration, and restrained watering routines. Without the right approach, even the hardiest specimen can quickly succumb to root decay or leaf droop.
Beginners frequently face frustrating issues such as soft leaves, brown tips, pale leggy growth, and root rot caused by heavy potting soils.
This complete guide breaks down everything you need to know about your indoor aloe plant, covering exact light levels, custom succulent soil blends, smart watering rules, offset propagation, and pest prevention.
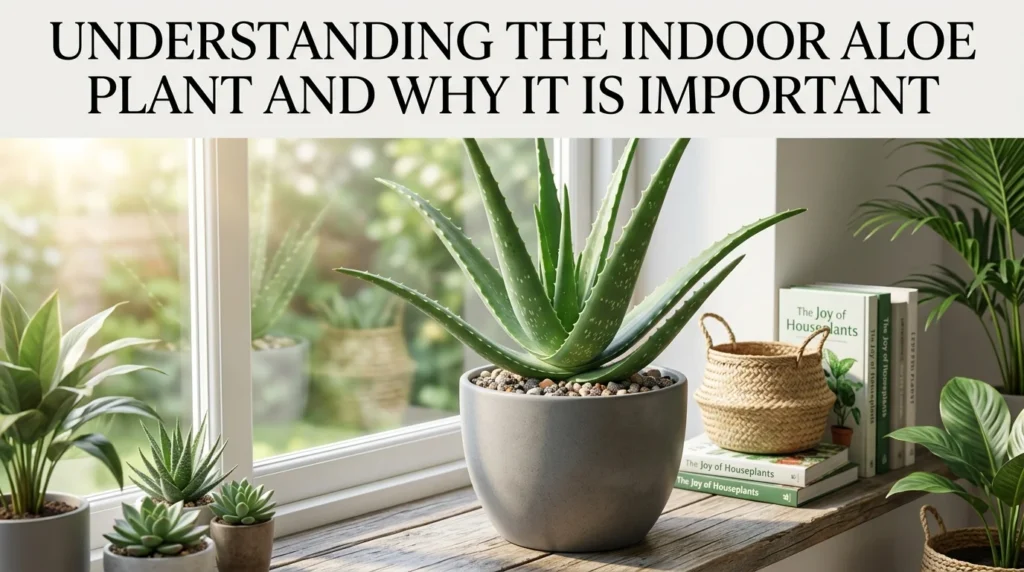
Understanding the Indoor Aloe Plant and Why It Is Important
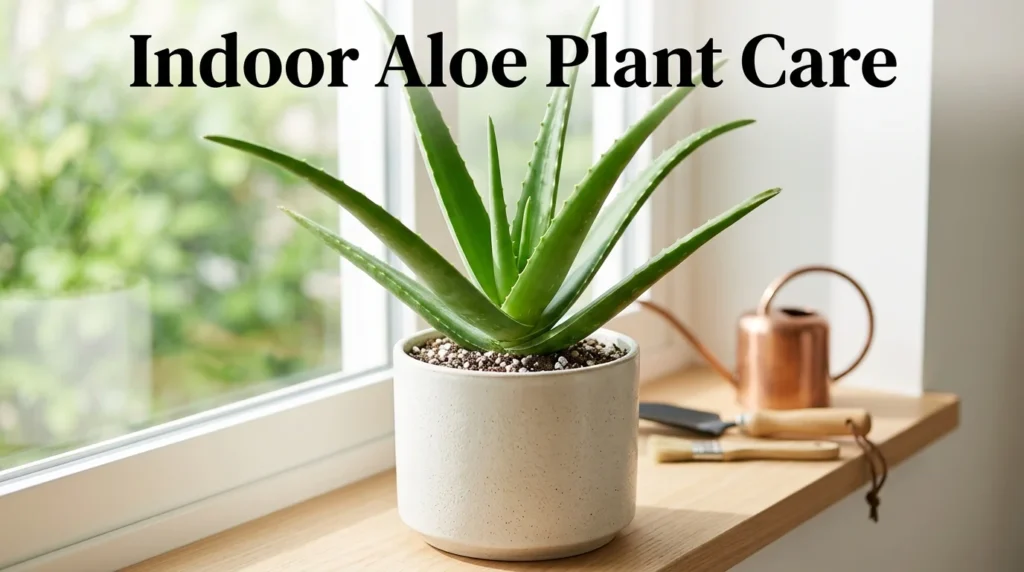
The common aloe (Aloe vera), also known as Aloe barbadensis, is a stemless or short-stemmed succulent native to the arid, tropical climate of the Arabian Peninsula. In its wild natural habitat, it thrives in sandy, nutrient-poor soil under full, intense sunlight, storing water inside thick gelatinous leaf tissue to survive extended droughts.
When grown inside containers as a houseplant, aloe retains its rosette growth habit. Its thick, fleshy, lance-shaped leaves feature small soft teeth along the margins and radiate outward from a central crown. Understanding its desert origin explains why this succulent reacts poorly to overwatering and dark room corners. The roots are shallow and fibrous, designed to absorb rainwater quickly and dry out fast. Keeping those roots surrounded by damp, heavy potting soil cuts off oxygen flow, leading to root rot.
Adding this succulent to your windowsill or plant collection is one of the easiest ways to introduce architectural shapes and drought-tolerant greenery into your home. Its geometric rosette structure contrasts beautifully with soft, trailing tropical vines.
Benefits and Advantages
- High Drought Tolerance: Fleshy gel-filled leaves store water, allowing the plant to easily survive missed waterings or vacation periods.
- Soothing Leaf Gel: Fresh gel harvested from mature outer leaves can be used topically to soothe minor skin irritations and sunburns.
- Simple Offset Propagation: Clumping growth habits produce natural clones at the base that root quickly when potted separately.
- Low Maintenance Needs: Requires zero pruning, minimal fertilizer, and infrequent repotting compared to fast-growing leafy tropicals.
- Compact Footprint: Fits easily on narrow windowsills, bright office desks, and sunny kitchen counters.
Different Methods or Approaches
Traditional Potted Soil Cultivation
Growing in terracotta containers filled with a loose cactus and succulent potting mix is the most reliable method. Terracotta’s porous clay walls allow moisture to evaporate through the sides of the pot, protecting roots from rot.
Semi-Hydroponics with LECA or Pon
Growing in inert media like Lightweight Expanded Clay Aggregate (LECA) or inorganic mineral substrates (such as inorganic pumice and lava stone blends) removes traditional organic soil entirely. While uncommon for succulents, this method delivers high oxygen to roots while wicking controlled moisture from a lower reservoir.
Water Propagation for Offsets
While mature specimens rot quickly if submerged in water long-term, young offsets can be suspended just above water to encourage initial root formation before being moved into dry soil.
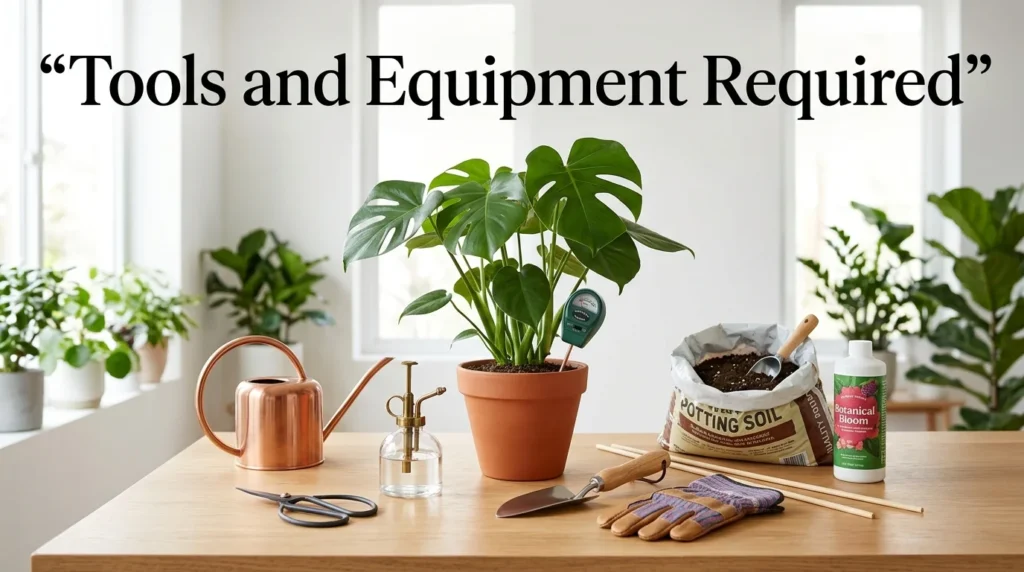
Tools and Equipment Required
- Porous Terracotta Pot: A heavy clay pot with a wide bottom drainage hole that encourages fast soil drying.
- Gritty Cactus and Succulent Mix: A fast-draining growing medium enriched with inorganic grit like perlite, pumice, or coarse sand.
- Unsharpened Pruning Shears or Knife: A clean blade for harvesting outer leaves or separating offsets from the mother root system.
- Full-Spectrum LED Grow Light: A focused grow light fixture to supplement natural sunlight during dark winter months.
- Squeeze Watering Bottle: A narrow-spout bottle that lets you direct water straight to the soil line without trapping moisture inside the central leaf rosette.
Best Plants or Options
While Aloe vera is the most famous species, several other compact varieties and hybrids grow remarkably well indoors:
Aloe Vera (Aloe barbadensis)
The classic medicinal variety, featuring thick gray-green upright leaves spotted with light white specks when young.
Lace Aloe (Aristaloe aristata)
A compact, shade-tolerant species with dark green rosettes covered in small white bumps and soft, thread-like bristles at the leaf tips.
Tiger Aloe (Gonialoe variegata)
Features striking V-shaped leaves adorned with distinct white horizontal bands, forming a compact geometric stack.
Coral Aloe (Aloe striata)
A smooth-leaved variety with broad, pale blue-green foliage edged in pinkish-coral lines, requiring bright light to maintain its color.
Hedgehog Aloe (Aloe humilis Hybrids)
A spiky, highly decorative mini aloe that stays under 8 inches tall, making it ideal for tight windowsills and desktop displays.
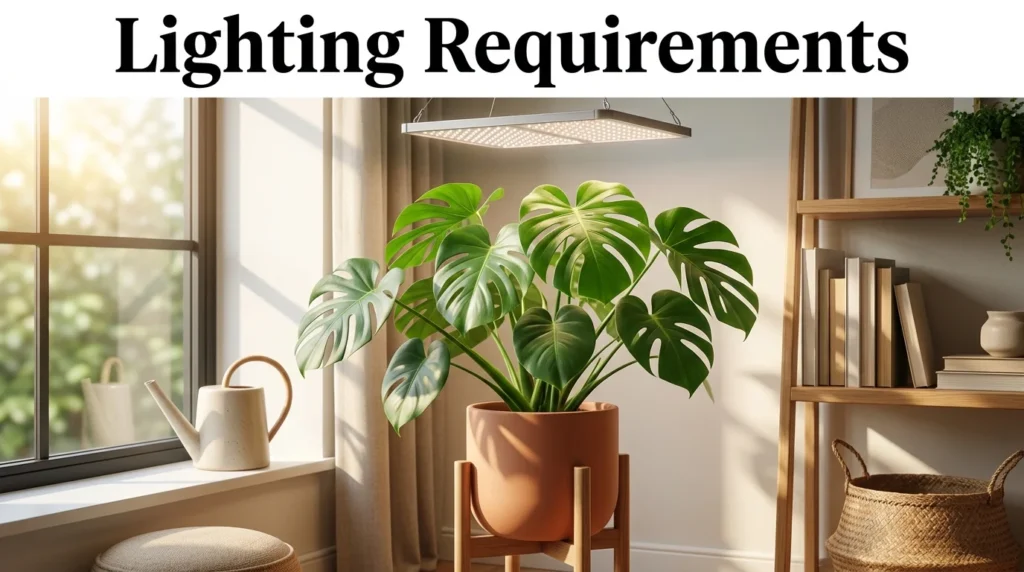
Lighting Requirements
Sunlight is the primary driver of leaf thickness, color vibrancy, and upright growth in desert succulents.
- Bright, Direct to Indirect Sunlight: Place your pot on a south- or west-facing windowsill where it can receive 6 to 8 hours of strong light daily.
- Acclimation to Direct Sun: While these plants love light, moving a shade-adapted specimen directly into intense afternoon glass-magnified sun can cause sunscorch, turning leaves a reddish-brown or bronze color.
- Low Light Symptoms: In dim spaces, leaves become thin, pale green, and weak, eventually flattening out or bending downward as the plant stretches for light.
- Grow Light Setup: If sunny windows are unavailable, position a full-spectrum LED light 6 to 12 inches directly above the central rosette, running it for 12 to 14 hours daily.
Watering Methods
Overwatering is the single biggest killer of indoor succulents. It is always safer to underwater than to overwater.
The Soak-and-Dry Technique
- Test soil moisture deep in the pot using a wooden skewer or your finger.
- Water only when the potting mix is 100% dry from top to bottom.
- Apply room-temperature water directly over the soil until it runs freely through the bottom drainage hole.
- Avoid pouring water directly into the center crown of the rosette, where trapped water triggers rot.
- Let the pot drain thoroughly for 20 minutes, then discard any water left in the drainage saucer.
Soil or Growing Medium
Standard potting soil holds far too much moisture and compacts around delicate succulent roots. You need a gritty mix that drains water within seconds.
A proven homemade succulent soil blend includes:
- Commercial Cactus Potting Mix (40%): Provides base organic material and lightweight structural support.
- Coarse Perlite or Pumice (40%): Ensures rapid drainage and creates large air pockets around root fibers.
- Coarse Horticultural Sand or Chicken Grit (20%): Adds weight, prevents compaction, and mimics natural desert mineral soils.
Temperature Requirements
Aloes thrive in warm room temperatures between 65°F and 85°F (18°C to 29°C), matching standard indoor environments.
They have zero tolerance for freezing conditions. Protect your plant from cold winter drafts near drafty windows, air conditioning vents, and exterior doorways. Exposure to temperatures below 50°F (10°C) can cause leaf tissue to freeze, turning foliage into dark, soft mush.
Humidity Control
Desert plants are adapted to dry air and prefer low to average indoor humidity (30% to 40%).
High atmospheric humidity combined with poor airflow slows soil drying time, creating conditions that encourage fungal leaf spots and stem rot. Avoid placing your pot inside humid bathrooms or near room humidifiers. Always maintain good air movement around the plant base.
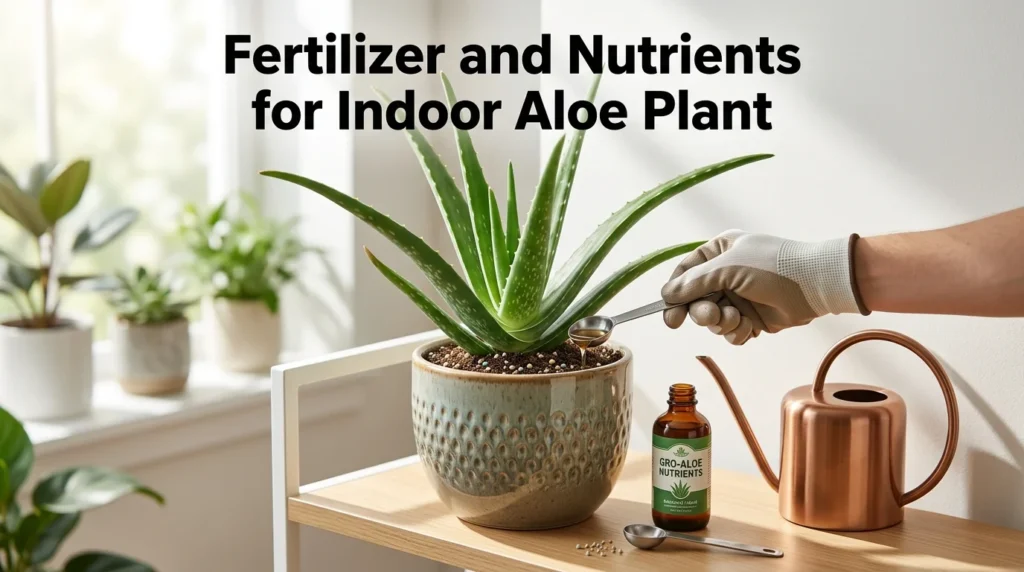
Fertilizer and Nutrients
Aloes are light feeders adapted to lean soils. Over-fertilizing leads to weak, leggy growth and chemical salt buildup in the soil.
- Spring and Summer Schedule: Feed once in spring and once in mid-summer using a balanced 2-7-7 or 10-10-10 liquid cactus fertilizer diluted to half strength.
- Autumn and Winter Pause: Stop fertilizing completely during autumn and winter when the plant enters a natural slow-growth phase.
- Dry Soil Warning: Never apply fertilizer to bone-dry roots. Water the plant lightly first to prevent chemical root burn.
Maintenance Routine
- Harvest Outer Leaves Correctly: When harvesting gel, select mature outer leaves near the base. Slice cleanly near the main stem using a sterile knife, allowing the wound to callus over naturally.
- Clean Dusty Leaves: Wipe leaf surfaces occasionally with a dry soft brush or slightly damp cloth to remove dust and maximize light absorption.
- Repot When Top-Heavy: Repot every 2 to 3 years when roots completely fill the pot or the plant becomes too top-heavy for its container.
- Separate Offsets (Pups): Remove side pups when they reach roughly one-third the size of the mother plant to prevent crowding.
Seasonal Care
Spring and Summer Strategy
As days lengthen, active growth begins. Move plants into bright windows, step up watering frequency as soil dries quickly in summer heat, and apply your light seasonal fertilizer. Spring is also the ideal window to divide pups and repot root-bound plants.
Autumn and Winter Strategy
Shorter daylight hours slow plant metabolism significantly. Soil takes much longer to dry, so reduce watering intervals to once every 4 to 6 weeks. Keep plants away from cold window glass, ensure grow lights are on if room light drops, and stop fertilizing entirely until spring returns.
Common Mistakes
- Using Pots Without Drainage: Planting in containers lacking bottom drainage holes traps standing water around roots, guaranteeing root rot.
- Watering on a Rigid Calendar: Adding water every few days without testing soil depth leads to soggy roots and soft, droopy foliage.
- Trapping Water in the Crown: Pouring water straight into the center rosette traps moisture, causing crown rot.
- Keeping Plants in Dark Corners: Placing pots far from sunlight leads to thin, pale, floppy leaves that collapse under their own weight.
- Using Heavy Garden Topsoil: Garden soil compacts into dense clay inside containers, suffocating roots and holding water for weeks.
Troubleshooting Problems
- Soft, Mushy, Translucent Leaves: A classic sign of severe overwatering and root rot. Unpot the plant immediately, trim away black or mushy roots, let the healthy tissue dry for two days, and repot in fresh, dry succulent soil.
- Thin, Indented, Shriveled Leaves: Indicates underwatering. When moisture reserves run low, the plant draws water from its internal gel storage, flattening the leaf profile. Give the pot a thorough soak.
- Reddish-Brown or Bronze Leaf Discoloration: Caused by sun stress from sudden exposure to direct, intense afternoon sunlight. Move the plant back slightly or provide sheer filtration until it adjusts.
- Pale Green, Floppy, Bending Leaves: A symptom of insufficient light. The plant is flattening its leaves to catch available light. Move it closer to a bright window or add a grow light.
- Black Spots at the Leaf Base: Signals advanced fungal rot spread by overwatering and trapped water in the rosette. Cut away infected leaves and treat the base with a mild fungicide.
Beginner Tips
- Choose Terracotta Over Plastic: Terracotta clay breathes and wicks away moisture, protecting roots from accidental overwatering.
- Follow the “When in Doubt, Wait” Rule: If you are unsure whether the soil is dry enough to water, wait another 3 to 5 days. These succulents recover quickly from dry soil, but rarely from rot.
- Give Harvested Offsets Time to Callus: When separating pups, let the raw root cuts dry in a shaded spot for 24 hours before planting them in dry soil. This prevents soil-borne bacteria from entering the open wound.
- Secure Top-Heavy Rosettes: Use small decorative river rocks or coarse gravel on the soil surface to anchor top-heavy rosettes until roots establish securely.
Advanced Expert Recommendations
Take your care routine to a higher level with these advanced horticultural strategies:
- Inorganic Mineral Substrates: Switch heavy plants from organic soil to pure inorganic mineral grit (equal parts pumice, lava rock, and calcined clay). This setup makes overwatering nearly impossible while promoting thick root development.
- Strategic Pup Removal for Rosette Size: To grow a giant single-specimen rosette, remove all emerging pups as soon as they appear. This directs the plant’s energy into expanding the central leaves rather than sharing resources with offsets.
- pH Soil Adjustments: These succulents prefer slightly acidic to neutral soil pH (6.0 to 7.0). If your tap water is hard and alkaline, flush the soil twice a year with distilled water or rainwater to prevent mineral salt crusting on root tips.
Conclusion
Mastering indoor aloe plant care comes down to respecting its desert heritage. By providing bright light, planting in a gritty fast-draining soil mix inside a porous terracotta container, and letting the soil dry completely between waterings, you avoid the common pitfalls of root rot and soft foliage. These resilient succulents reward minimal care with striking geometric beauty, helpful leaf gel, and an abundance of new offsets. At GrowIndoorly.com, we are dedicated to helping you build a thriving home garden. Apply these practical tips today and watch your plants flourish for years to come.
Knowledge Check
What is the natural habitat and growth habit of the common aloe plant (Aloe vera) in the wild?
- A) It grows as a climbing vine in humid tropical rainforest canopies.
- B) It grows in arid, sandy desert regions under intense, direct sunlight.
- C) It grows submerged in freshwater river margins and seasonal swamps.
- D) It forms deep underground tuber systems beneath dark forest leaf litter.
What is the single most common cause of soft, translucent, mushy leaves on an indoor aloe plant?
- A) Severe underwatering over multiple years
- B) Overwatering leading to soil compaction and root rot
- C) Excessively low atmospheric room humidity
- D) Pruning older outer leaves with sterile shears
How deep should the potting mix dry out before giving an indoor aloe plant a thorough soak?
- A) Only the top 1/2 inch of the soil surface.
- B) Exactly half the pot depth.
- C) 100% dry from the top to the very bottom of the pot.
- D) The soil should never be allowed to dry out at all.
Which potting container material is ideal for preventing root rot in succulents by allowing moisture to evaporate through its walls?
- A) Un-glazed terracotta clay
- B) Non-porous sealed plastic
- C) Glazed dense ceramic
- D) Decorative glass jars without drainage holes
What appearance do aloe leaves take on when the plant is severely underwatered and drawing from its internal gel reserves?
- A) Leaves become thick, bloated, and dark purple.
- B) Leaves become thin, indented, and shriveled.
- C) Leaves immediately fall off the central stem all at once.
- D) Leaves turn neon yellow with dark black stripes.
Why should you avoid pouring water directly into the central crown of an aloe rosette?
- A) It causes the leaf tips to turn bright red.
- B) Trapped water in the central crown encourages fungal crown rot.
- C) It stops the plant from absorbing sunlight through its roots.
- D) It washes away the plant’s essential macronutrients.
Answer Key
- B
- B
- C
- A
- B
- B
Frequently Asked Questions
Why are my aloe plant’s leaves turning brown and soft?
Soft, brown leaves are a classic symptom of overwatering and root rot. When roots decay, they can no longer transport nutrients, causing leaves to turn soft and translucent. Stop watering, inspect root health, and repot in dry, gritty soil.
How much sunlight does an indoor aloe plant need daily?
They thrive best in 6 to 8 hours of bright sunlight daily. Place your pot on a south- or west-facing windowsill, or supplement with an LED grow light if natural window light is limited.
How often should I water my indoor aloe plant?
Water only when the potting mix is completely dry from top to bottom. This usually means watering every 2 to 3 weeks during spring and summer, and every 4 to 6 weeks during autumn and winter.
How do I harvest and separate aloe pups?
Wait until the pup reaches one-third the size of the parent plant. Gently unpot or dig around the base, slice the connecting runner root with a clean blade, let the cut callus for 24 hours, and pot it in dry succulent soil.
Can an indoor aloe plant survive in a room without windows?
No, they cannot survive long-term in rooms without natural light or grow lights. In dark spaces, they turn pale, grow weak leggy leaves, and eventually rot from trapped soil moisture. Always provide a bright grow light if windows are absent.

Megan Foster is the founder and lead writer of GrowIndoorly.com, where she shares practical, easy-to-follow advice for growing healthy indoor plants. She is passionate about helping beginners and experienced plant lovers build thriving indoor gardens with confidence. Megan writes about houseplants, indoor herbs, succulents, hydroponics, grow lights, plant propagation, watering, soil care, and everyday plant maintenance.
She enjoys researching trusted gardening techniques and transforming them into simple, actionable guides that readers can easily apply at home. Her goal is to make indoor gardening more enjoyable and accessible by providing clear, reliable information that helps people keep their plants healthy throughout the year. Whether you’re caring for your first houseplant or expanding your indoor plant collection, Megan’s practical tips are designed to help you grow with confidence.